> ## Documentation Index
> Fetch the complete documentation index at: https://www.anything.com/docs/llms.txt
> Use this file to discover all available pages before exploring further.
# Exa
> Crawl the internet with AI-powered search
Exa lets you search and summarize web content using advanced AI models.
## Overview
Sign up for an Exa account
Set up payment for API access
Generate your Exa API token
Add your token to Anything's secrets
## Account Setup
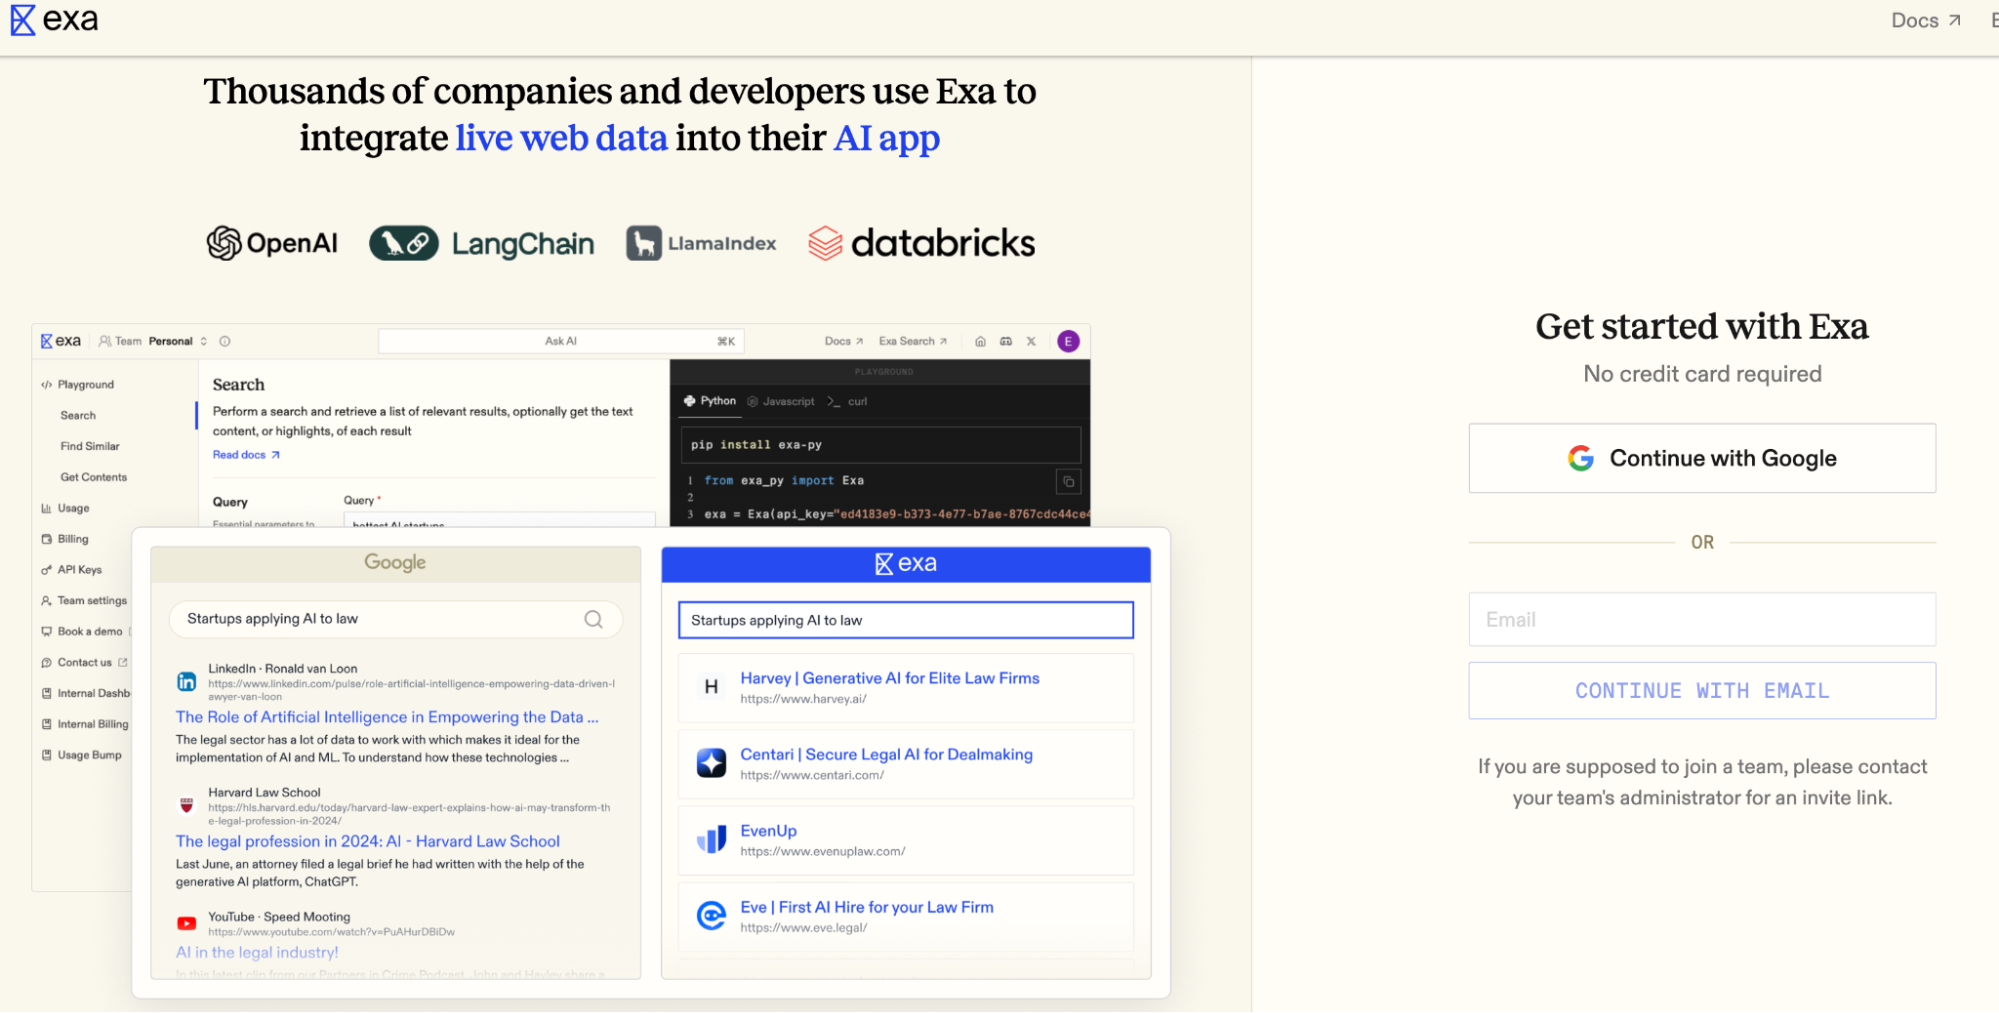
Go to [exa.ai](https://exa.ai/) and click "Try API For Free"
 * Click "Continue with Google"
* Or sign up with email/password
* Click "Continue with Google"
* Or sign up with email/password
 ## Configure Billing
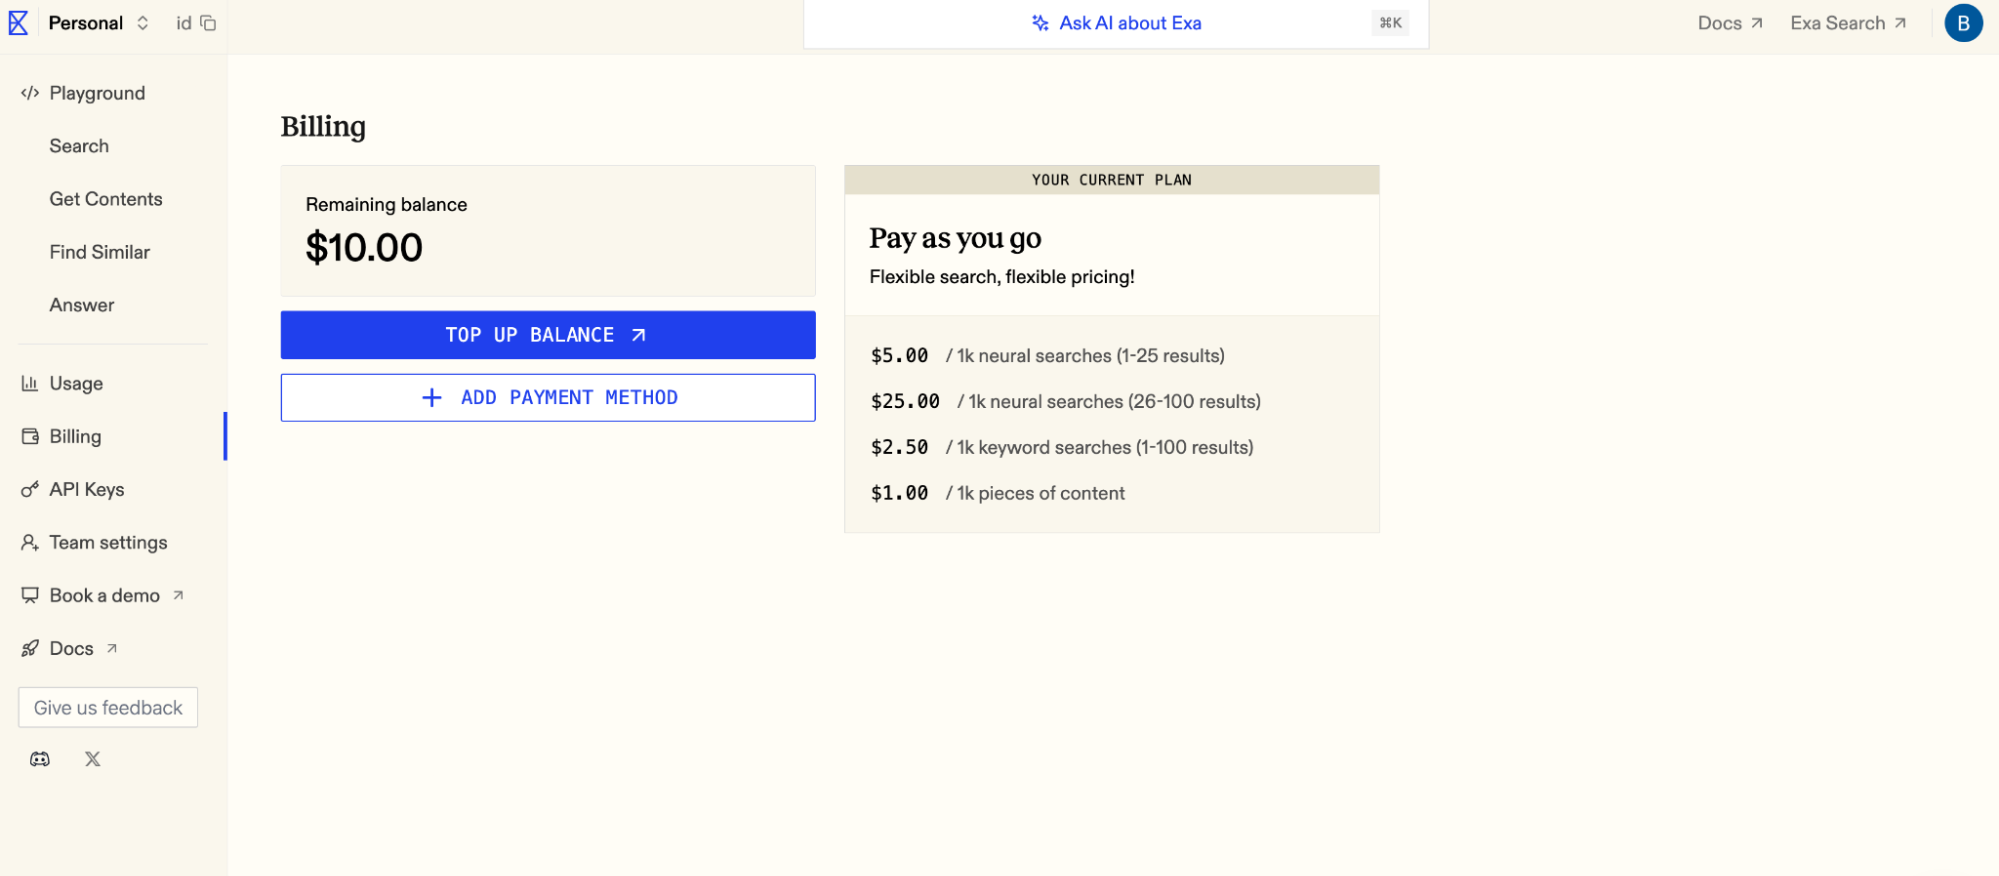
1. Navigate to "Billing" in the left panel
2. Click "Top Up Balance"
## Configure Billing
1. Navigate to "Billing" in the left panel
2. Click "Top Up Balance"
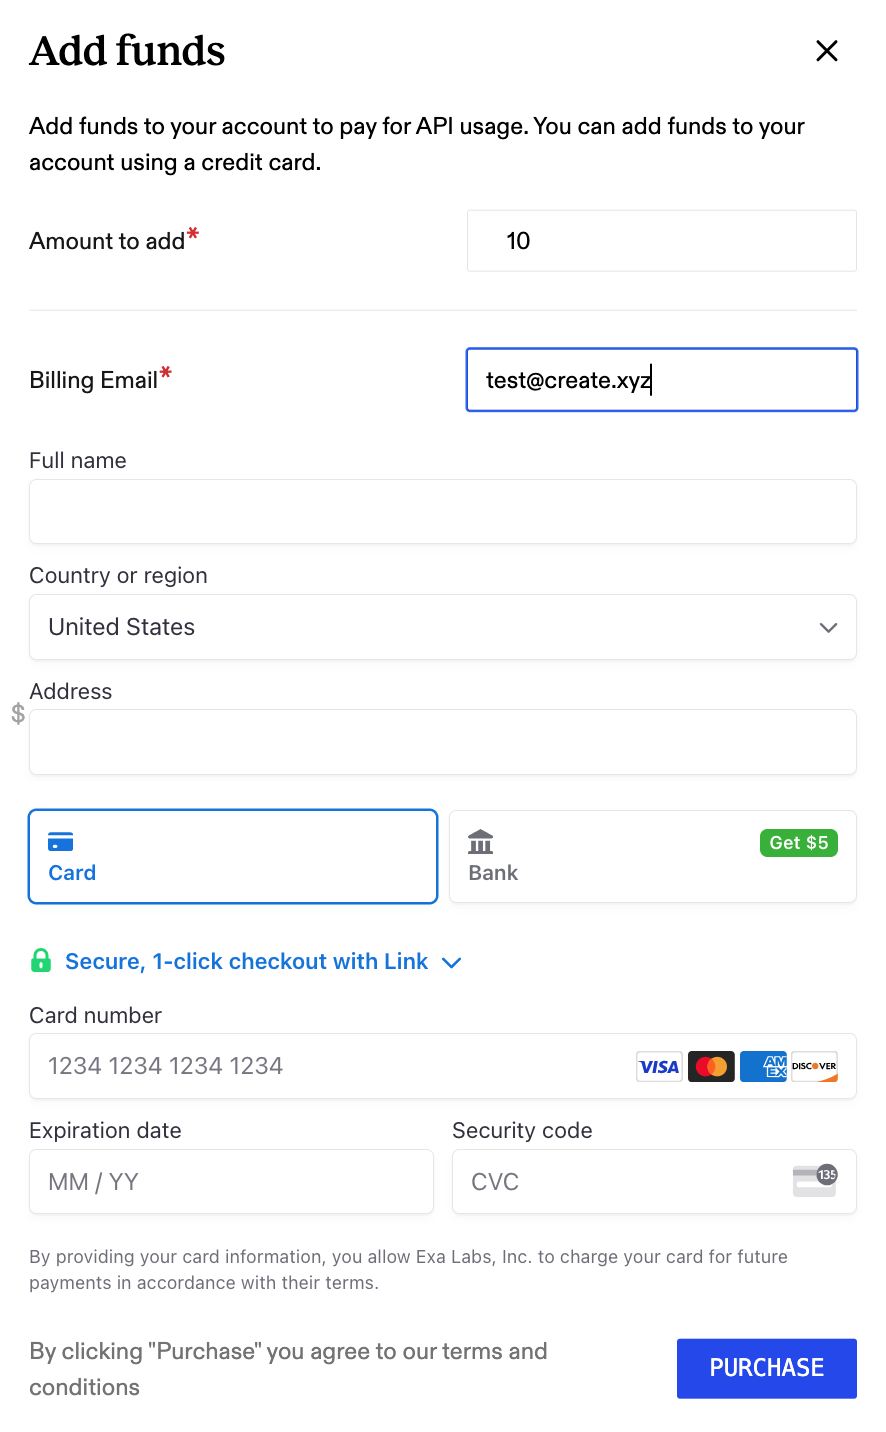
 1. Enter payment information
2. Click "Purchase"
1. Enter payment information
2. Click "Purchase"
 ## Generate API Token
1. Go to "API Tokens" in settings
2. Locate your default API key
## Generate API Token
1. Go to "API Tokens" in settings
2. Locate your default API key
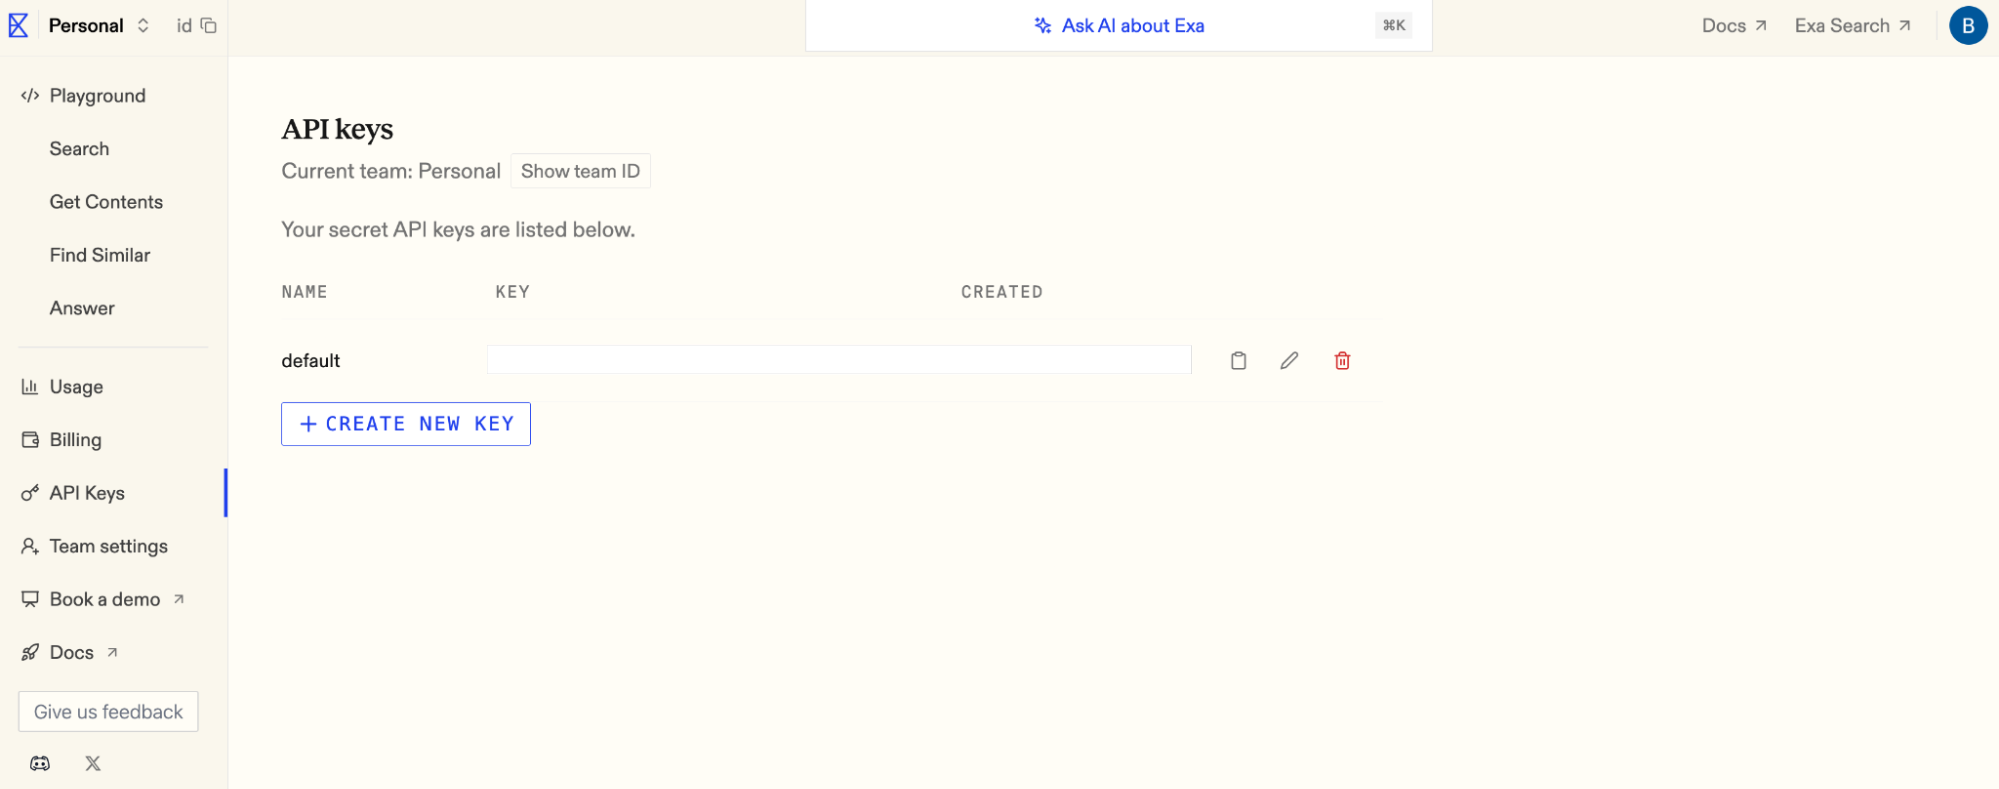 1. Click "Copy" next to your API token
2. Store it securely
## Add to Anything project
1. In your Anything project, type `/` in chat
2. Select "Exa" from the menu
1. Paste your Exa token into "EXA\_API\_KEY" secret
Lost your token? Generate a new one in Exa's dashboard.
Use prompts with the integration to search the web:
* `Find recent AI research papers about /Exa`
* `Get summarized content from wikipedia about /Exa`
* `Search for trending React components with /Exa`
Exa integration complete! Use `/Exa` in chat to access web search capabilities.
1. Click "Copy" next to your API token
2. Store it securely
## Add to Anything project
1. In your Anything project, type `/` in chat
2. Select "Exa" from the menu
1. Paste your Exa token into "EXA\_API\_KEY" secret
Lost your token? Generate a new one in Exa's dashboard.
Use prompts with the integration to search the web:
* `Find recent AI research papers about /Exa`
* `Get summarized content from wikipedia about /Exa`
* `Search for trending React components with /Exa`
Exa integration complete! Use `/Exa` in chat to access web search capabilities.