> ## Documentation Index
> Fetch the complete documentation index at: https://www.anything.com/docs/llms.txt
> Use this file to discover all available pages before exploring further.
# Screenshot Layer
> Capture screenshots of any website
Screenshot Layer API allows you to capture high-quality screenshots of any website, enabling you to integrate visual web captures into your applications.
## Overview
Sign up for a Screenshot Layer account
Generate your Screenshot Layer API key
Add your API key to Anything's secrets
## Account Creation
Go to [screenshotlayer.com](https://screenshotlayer.com/) and click "Sign Up" in the top right corner
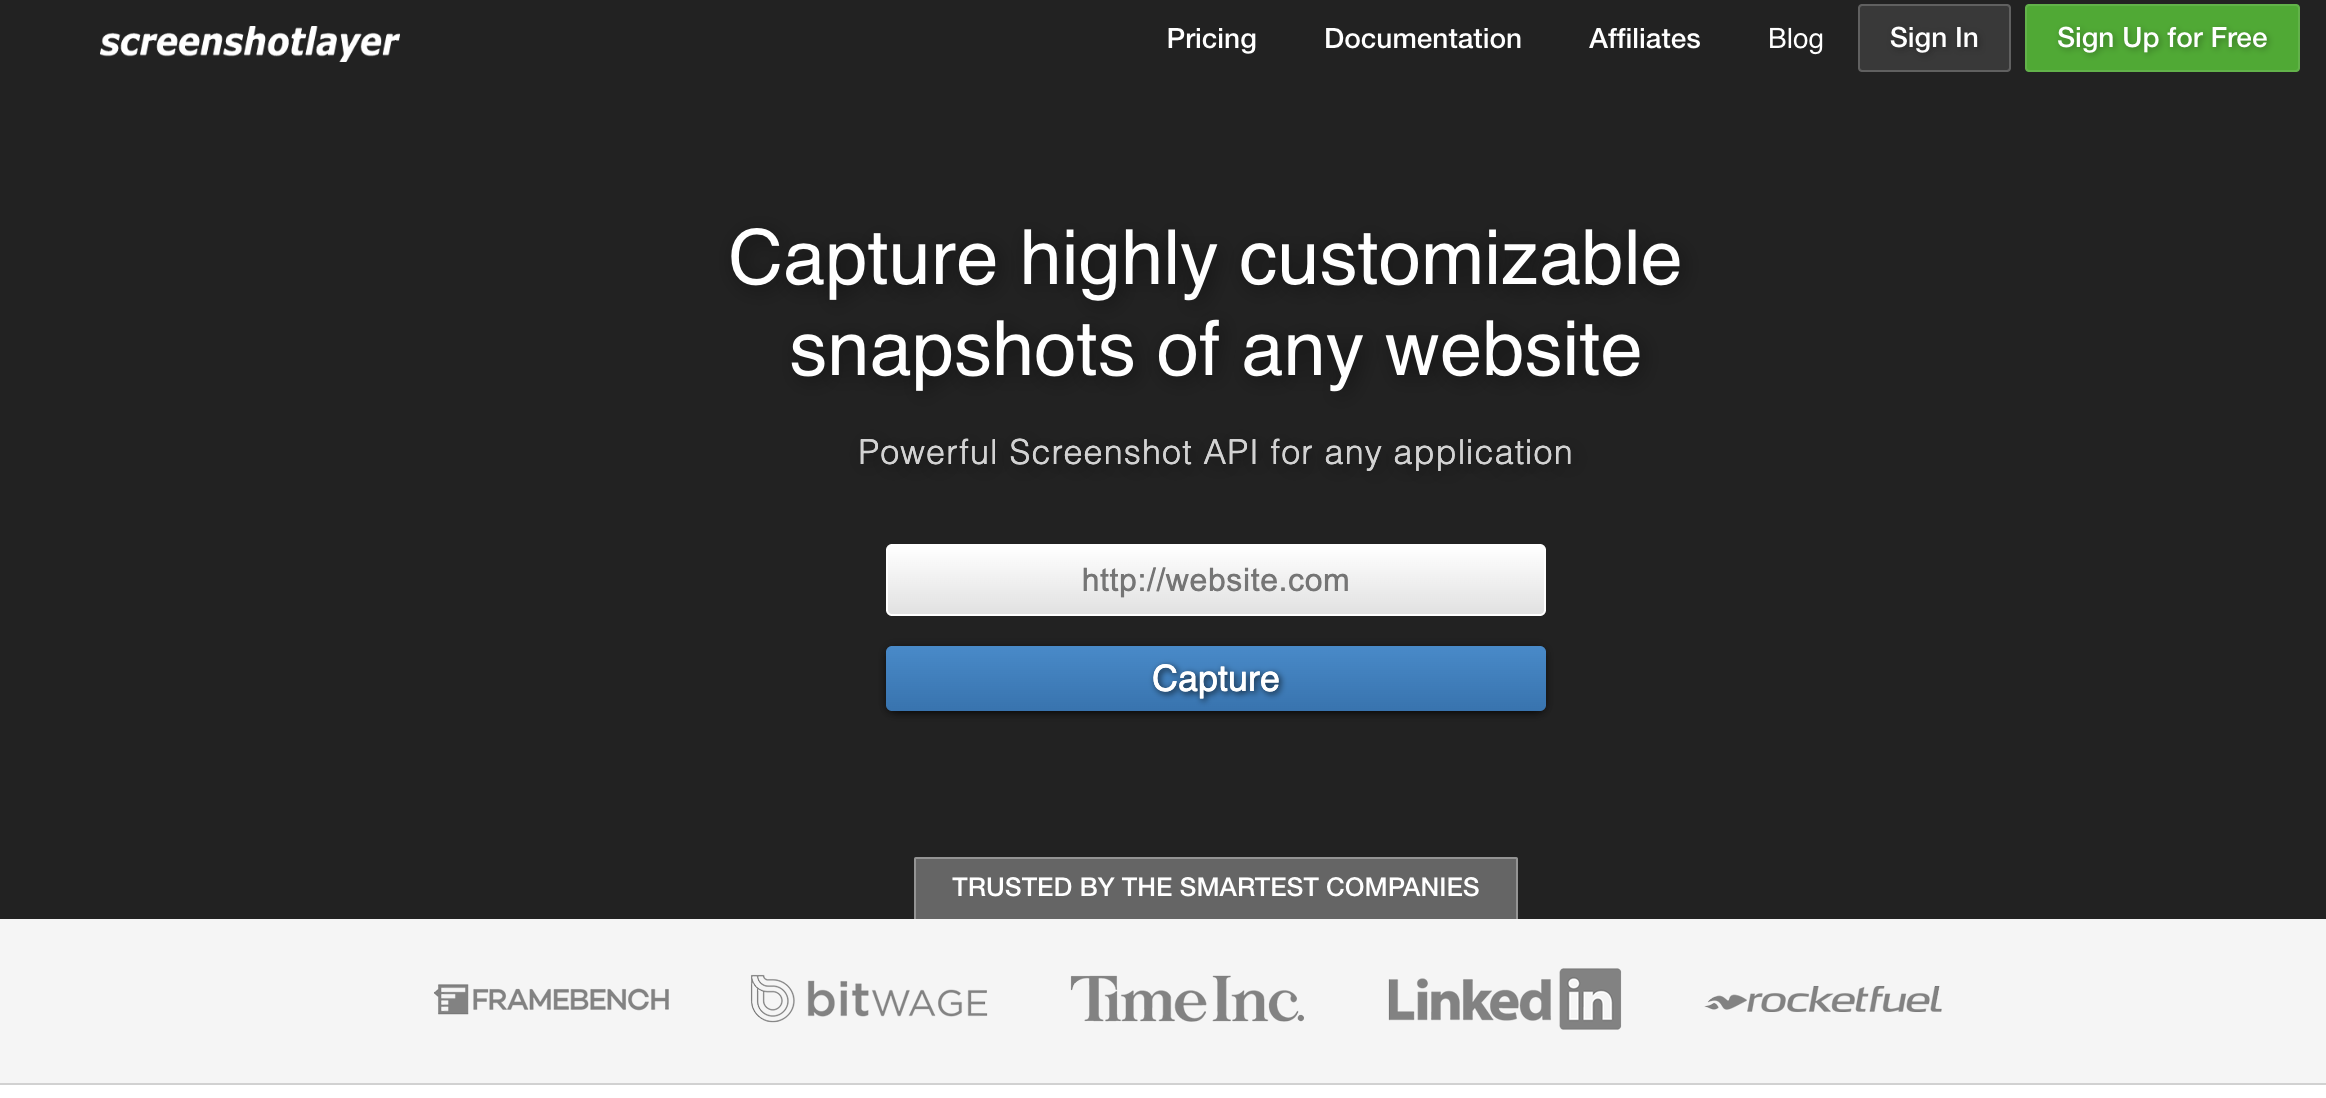 * Select a plan that fits your needs
* Fill in your registration details
* Complete the signup process
* Select a plan that fits your needs
* Fill in your registration details
* Complete the signup process
 ## Generate API Key
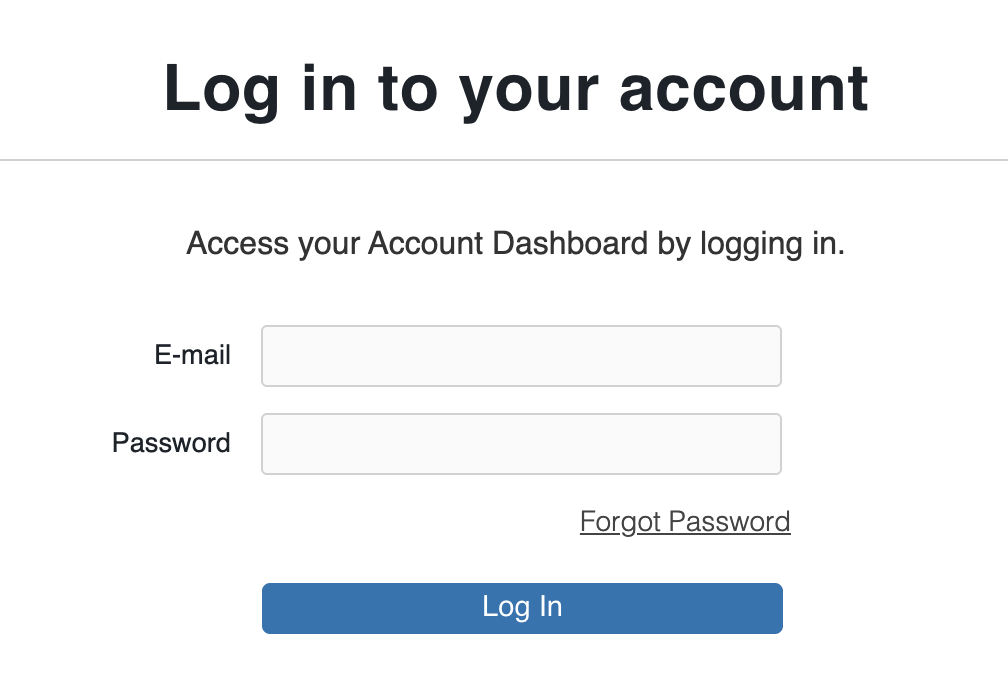
1. Log in to your Screenshot Layer account
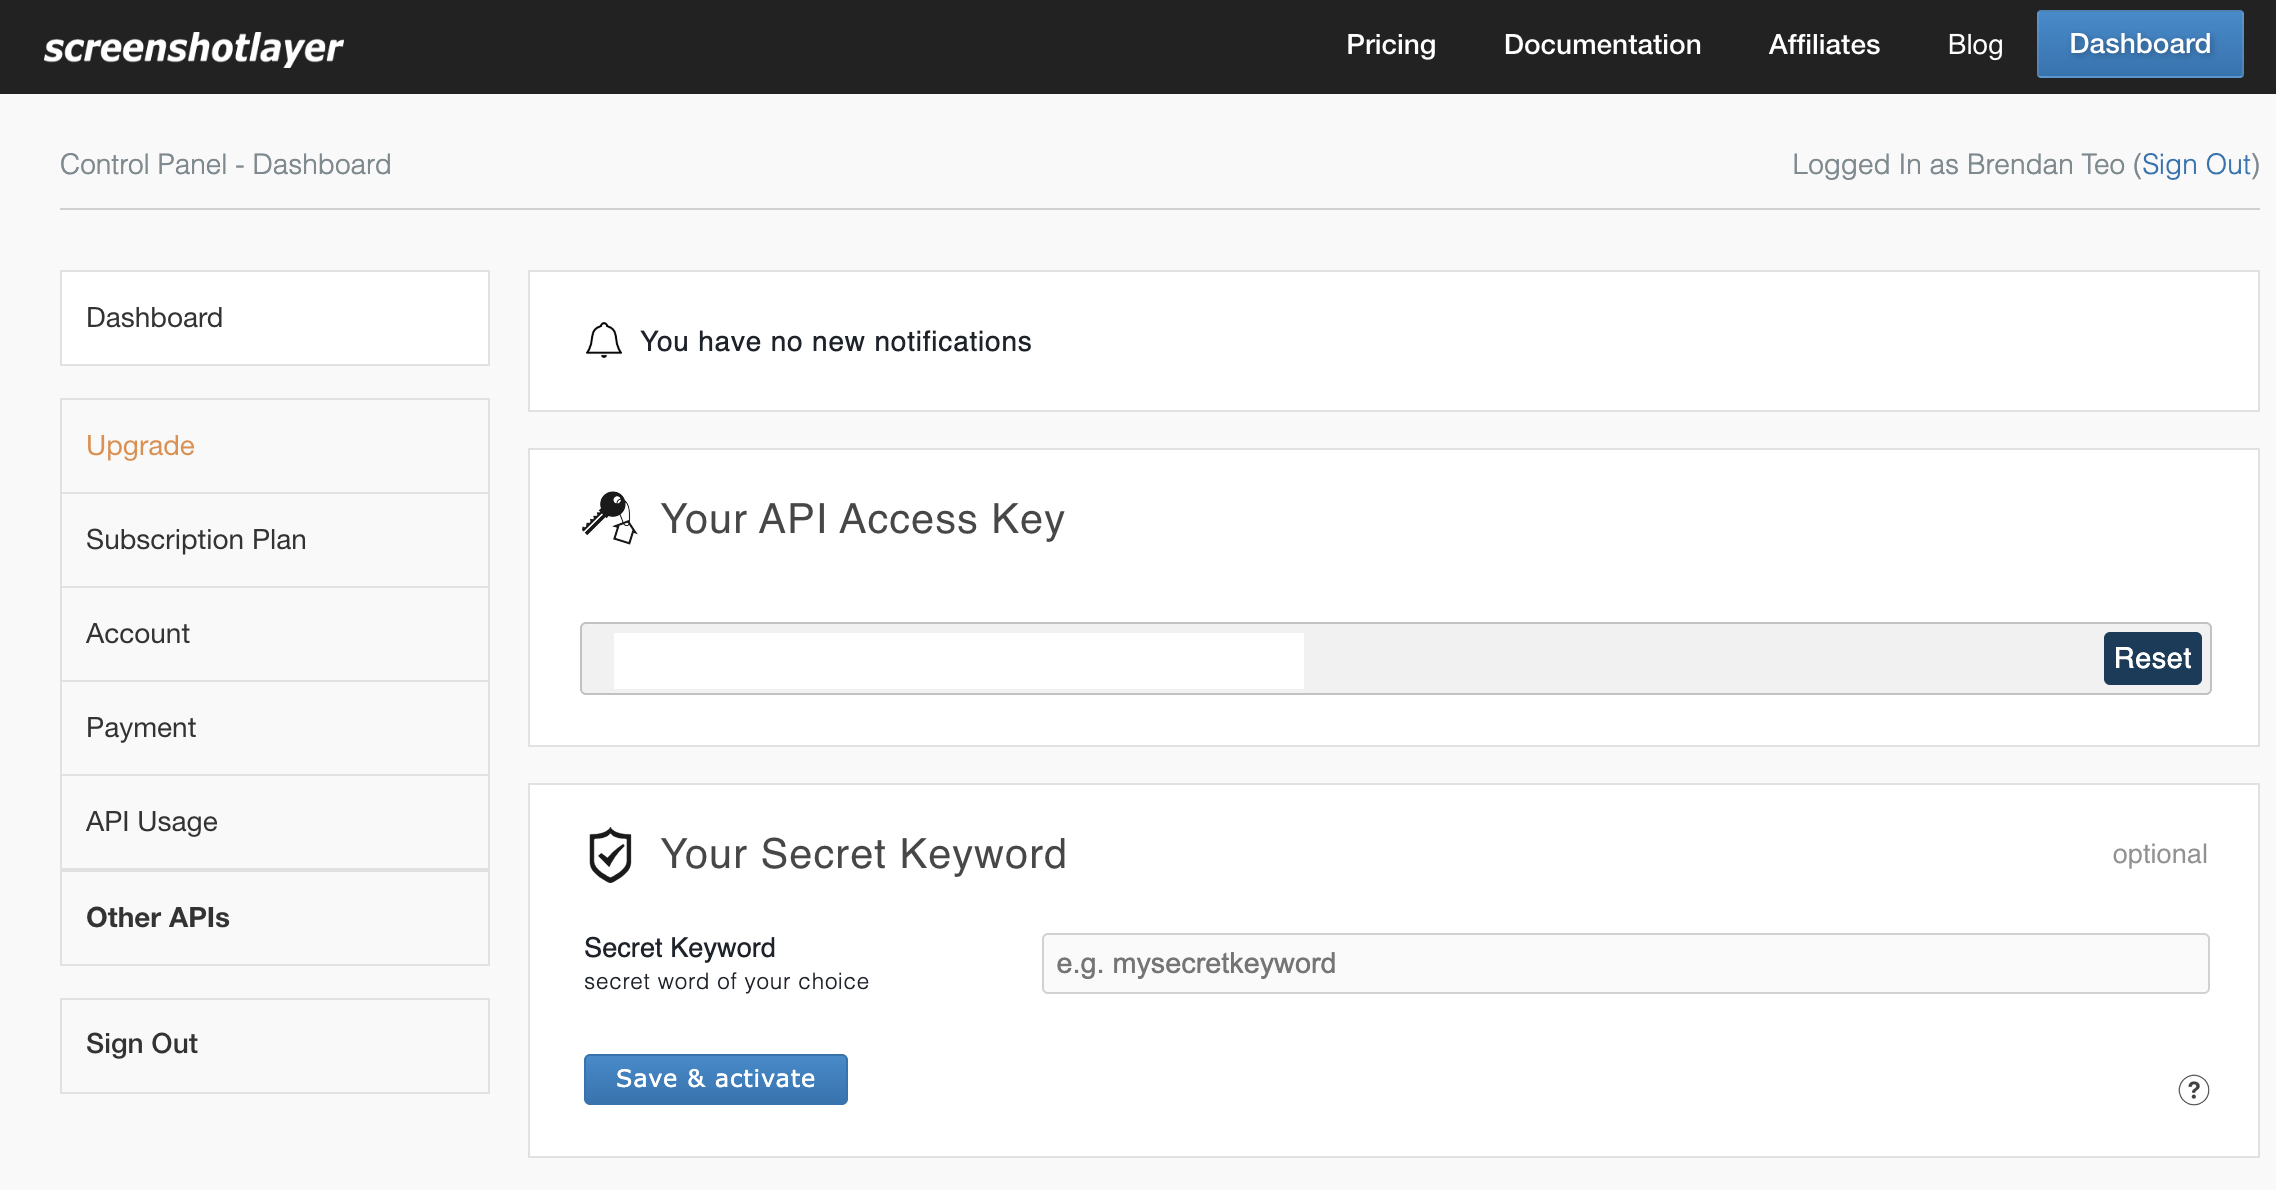
2. Navigate to the "Dashboard" section
1. Your API key will be displayed on the dashboard
2. Copy the API key for use in your applications
## Generate API Key
1. Log in to your Screenshot Layer account
2. Navigate to the "Dashboard" section
1. Your API key will be displayed on the dashboard
2. Copy the API key for use in your applications
 1. Keep your API key secure
Your API key grants access to your Screenshot Layer account and quota
## Add to Anything project
1. In your Anything project, type `/` in the chat
2. Select "Screenshot Layer" from the menu
1. Paste your Screenshot Layer API key into the "SCREENSHOT\_LAYER\_API\_KEY" field
Need a new key? You can find it in your Screenshot Layer dashboard.
You can now use prompts with the integration to capture website screenshots.
Some examples:
* `Capture a screenshot of this website using /ScreenshotLayer`
* `Create a website preview tool with /ScreenshotLayer`
* `Build a web archiving app using /ScreenshotLayer`
The API limits how often your app can fetch data. If your app loads the same data often, ask the agent to save it locally so it doesn't re-fetch every time.
Example prompt for optimization:
```
When using /ScreenshotLayer, save the screenshots so my app doesn't have to fetch it again
```
Your Screenshot Layer integration is now ready! Use the `/ScreenshotLayer` command in chat to capture website screenshots.
1. Keep your API key secure
Your API key grants access to your Screenshot Layer account and quota
## Add to Anything project
1. In your Anything project, type `/` in the chat
2. Select "Screenshot Layer" from the menu
1. Paste your Screenshot Layer API key into the "SCREENSHOT\_LAYER\_API\_KEY" field
Need a new key? You can find it in your Screenshot Layer dashboard.
You can now use prompts with the integration to capture website screenshots.
Some examples:
* `Capture a screenshot of this website using /ScreenshotLayer`
* `Create a website preview tool with /ScreenshotLayer`
* `Build a web archiving app using /ScreenshotLayer`
The API limits how often your app can fetch data. If your app loads the same data often, ask the agent to save it locally so it doesn't re-fetch every time.
Example prompt for optimization:
```
When using /ScreenshotLayer, save the screenshots so my app doesn't have to fetch it again
```
Your Screenshot Layer integration is now ready! Use the `/ScreenshotLayer` command in chat to capture website screenshots.